


What is BIOS?
BIOS is typically described as the “heart” of a computer. It stands for Basic Input/Output System, and it is an essential type of firmware since it operates before the operating system (OS) starts. It is usually in a small memory chip on the motherboard and acts as the medium between the hardware and the OS that oversees system handling. UEFI (Unified Extensible Firmware Interface) is a more advanced version of BIOS, which has been mainstream since 2010. However, “BIOS” remains a more common term among a lot of users.
Basic Functions and Roles of BIOS
The BIOS is the first thing that works when you turn your computer on. It initialises the system, starting with the chipset and CPU and then proceeding to other memory, controller, drive, and other parts in a sequence mode. If even one of the components does not work correctly, the boot process will end at that particular point.
One of the features of BIOS is a diagnostic tool called POST (Power-On Self-Test). This tool’s primary goal is to notify the user of irregularities during the startup stage quickly. If the system is faulty in any way, it will give the user beep codes, error displays, or flash the LEDs. In the most serious cases, it can even shut down the system to avoid damage.
Pressing the F2 or Delete key to access the BIOS setup screen allows you to enter and set the basic requirements. There, you can adjust the primary settings, such as boot order and date and time configurations, enable the password option, and manage the processor, which essentially ensures that the system is up and running.
BIOS vs. UEFI: Key Differences
Traditional BIOS has been supplanted by UEFI (Unified Extensible Firmware Interface) in contemporary computers. UEFI, as a superior version of BIOS, gives users an assortment of control over a system they do not otherwise have.
The most pronounced difference involves data storage. The old BIOS relies on the Master Boot Record (MBR) as a choice, whereas UEFI prefers the GUID Partition Table (GPT). This, in turn, allows for more massive storage drives and shorter boot times due to its advanced design.
Here are some of the main features that UEFI offers:
- Maintenance of a standard graphical user interface, considering expected cursor behaviour. No more blue screens.
- Protection of the PC from running unauthorised software during the boot process
- Uses a more advanced version of network booting
- Direct firmware updates in Windows, allowing for easier and safer updates
All these features, in turn, make the system more usable. The actual benefits of a mouse and the direct firmware updates from Windows reduce the complexity for many users who do not have to access BIOS to make changes.
When Should You Update the BIOS?
Updating the BIOS is an important task that directly affects essential computer control. However, this is not something you have to do on a regular basis. I think, as a general rule, the quote “if it works, don’t touch it” fits best here. That being said, there are some instances in which not updating a BIOS becomes a must. It is no less necessary for the long-term use of the system and equipment incompatibility.
Compatibility with Windows 11
As a result of the migration to Windows 11, there are growing cases where updating the BIOS has become imperative. This is especially the case for systems using Intel processors from the 9th generation or earlier or AMD Ryzen 2000 series CPUs. A BIOS update is often necessary to comply with Windows 11’s requirements, such as TPM 2.0 and Secure Boot. Besides, the prompt to upgrade to Windows 11 will appear only when these features are activated.
Security Updates
Defects in the BIOS layer could severely impact the entire system, and hence, security updates should be given utmost priority. The most common security updates are as follows:
- Mitigations against processor vulnerabilities such as Spectre and Meltdown
- Enhancements to Secure Boot functionality
- Protection against unauthorised access at the firmware level
- Improvements to authentication during system boot
Whether in a corporate setting or a computing system used for managing sensitive data, these security updates need special attention. They serve as the first layer of defence for systems and should not be overlooked.
Performance Improvements
BIOS updates, for the majority, do not affect system performance drastically, yet they can tweak, to a great extent, the functioning of the hardware parts. Most of the major benefits are:
- Enhanced memory stability and better compatibility with high-speed memory
- The processor is optimised for improved stability and better performance
- Better energy management reduces unnecessary power consumption and improves component efficiency.
- Boot processes are accelerated, giving users quicker access to the desktop.
More efficient power management that results in less power waste is key to providing these advantages. These benefits are particularly noticeable after upgrading to new CPUs or memory. You need to get the latest BIOS often to ensure your computer runs at its full potential.
Improved Hardware Compatibility
BIOS updates are of high priority whenever there is an upgrade in the hardware components. You should reconsider the cases below:
- Updating the BIOS to recognise new-generation CPUs or the latest CPUs
- Increasing memory support to enable compatibility with larger memory capacities
- Ensuring compatibility with specific storage devices
- Activating GPU features like Resizable BAR (ReBar) for improved performance
For instance, assume that after installing a new CPU on an old motherboard, the BIOS update is not done in advance. Then, the system might fail to boot. That is to say, BIOS updates should be done on an as-needed basis and with a clear objective in mind.
Risks and Precautions When Updating the BIOS
Updating the BIOS is a critical operation as it involves rewriting a computer’s ” core.” If something goes wrong, the result may be a condition in which the computer cannot be booted. But there is no need to worry too much. By properly preparing and applying the correct methods, these risks can be minimised. Let’s go over the key points to ensure a successful update.
Important checks before updating
Several significant checks must be performed before starting a BIOS update. Failure to complete these basic checks can cause severe issues during the update process.
Backup Preparation
In order to save information in the event of a problem during the upgrade process, the main thing to do is to back up important data. Pay special attention to the following types of data:
- Personal data (documents, photos, videos, etc.)
- Application settings
- Email data and address books
- Browser bookmarks and saved passwords
It is recommended that the backup be kept on external storage media, such as an external hard drive or in the cloud, to ensure that it is physically separated from the system.
System requirements check
Finalise the following checks before the update:
- Check the current BIOS version:
- Press Windows + R and type msinfo32.
- – In the system information window, look for “BIOS Version/Date.”
- System compatibility check:
- Confirm the model number of the motherboard.
- Check the processor type and generation.
- Record current BIOS settings (in case they are reset during the update).
- BitLocker status:
- If Locker is enabled, temporarily disable it.
- Ensure the recovery key is safely stored.
The foremost thing to do is verify the compatibility of the BIOS file you are going to download with your specific system. Using a BIOS file not intended for the model you are using can result in the system failing to boot or other critical issues.
Primary risk factors
Some of the problems that can arise during the update of BIOS in reality are given here.
Power Failure Risks
A blackout during the BIOS update is regarded as one of the most dangerous risks. If the BIOS becomes corrupted because of a blackout, the motherboard may need to be repaired or replaced. Among the most frequent issues are:
- The rapid decline of battery power on laptops
- Unstable fluctuations in power supply or power outages on desktops
- People may accidentally press the power button during the update (a surprisingly frequent mistake).
Don’t perform an update on laptops with the battery remaining at 10% or below. Always connect the AC adapter to the laptop to ensure stable power during the process.
Compatibility Issues
Another concern is compatibility issues. If you are using an ASRock motherboard, the USB drive must be formatted in FAT32 for the update to work correctly. The use of other file systems might cause the update to fail midway.
Issues of compatibility might eventually result in the following problems:
- System instability
- Hardware recognition errors
- Decreased performance
- Improper functioning of power management features
To prevent these types of issues, always verify your motherboard model and current BIOS version. Remember to use only official update files provided by the manufacturer.
Data Loss Risks
A failed BIOS update can result in system issues and the loss of critical data. This risk is particularly severe for drives protected by BitLocker. If the recovery key is not recognised after the update, you may lose access to the drive’s data.
Other scenarios to watch out for include:
- System settings are being reset due to a failed update
- Corruption of user profiles
- Inaccessible encrypted data
In addition to backing up your data, it’s a good idea to record your current BIOS settings. This will make recovery much more manageable if something goes wrong.
Preparation for a Safe Update
Based on the risks mentioned above, here are the steps you should take to prepare for a safe BIOS update. Proper preparation can prevent most issues.
Power Management Precautions
Power-related issues are the biggest threat to a BIOS update. Here are some precautions based on the type of system:
For laptops:
- Ensure the battery is at least 50% charged.
- Always connect the AC adapter.
- Disable sleep mode during the update.
- Place the computer on a stable surface during the process.
For desktops:
- Use an uninterruptible power supply (UPS) if available.
- Double-check the power cable connections
- Disable power-saving settings during the update
- Avoid updating during thunderstorms.
Driver Backup
To prepare for the possibility that the system may not function correctly after the update, back up the following drivers:
- Chipset drivers (essential for basic system functions)
- Network drivers (to restore internet connectivity)
- Graphics drivers (for proper display functionality)
- Storage controller drivers (critical for storage devices)
Ensure that network drivers are available offline, as you may need them to reconnect to the internet. Also, please note the current driver versions. Taking screenshots of the Device Manager can be helpful for reference later.
How to Update the BIOS for Windows 11
The steps for updating the BIOS vary slightly depending on the manufacturer, but the basic process is similar across most systems. Below, we’ll walk through the general steps used in real-world scenarios.
Preparation and preliminary checks
Before starting the update process, ensure the following preparations are complete:
- Check the current BIOS version.
- Press Windows + R and type msinfo32.
- In the system information window, locate “BIOS Version/Date.
- Obtain the latest BIOS file.
- Search for your specific model on the manufacturer’s support website.
- Download the latest version from the “BIOS” or “Firmware” section.
- Note down the file name and version for reference.
- Prepare the updated environment.
- If BitLocker is enabled, temporarily turn it off.
- Disconnect all external devices except the essentials.
- Double-check power management (this is critical).
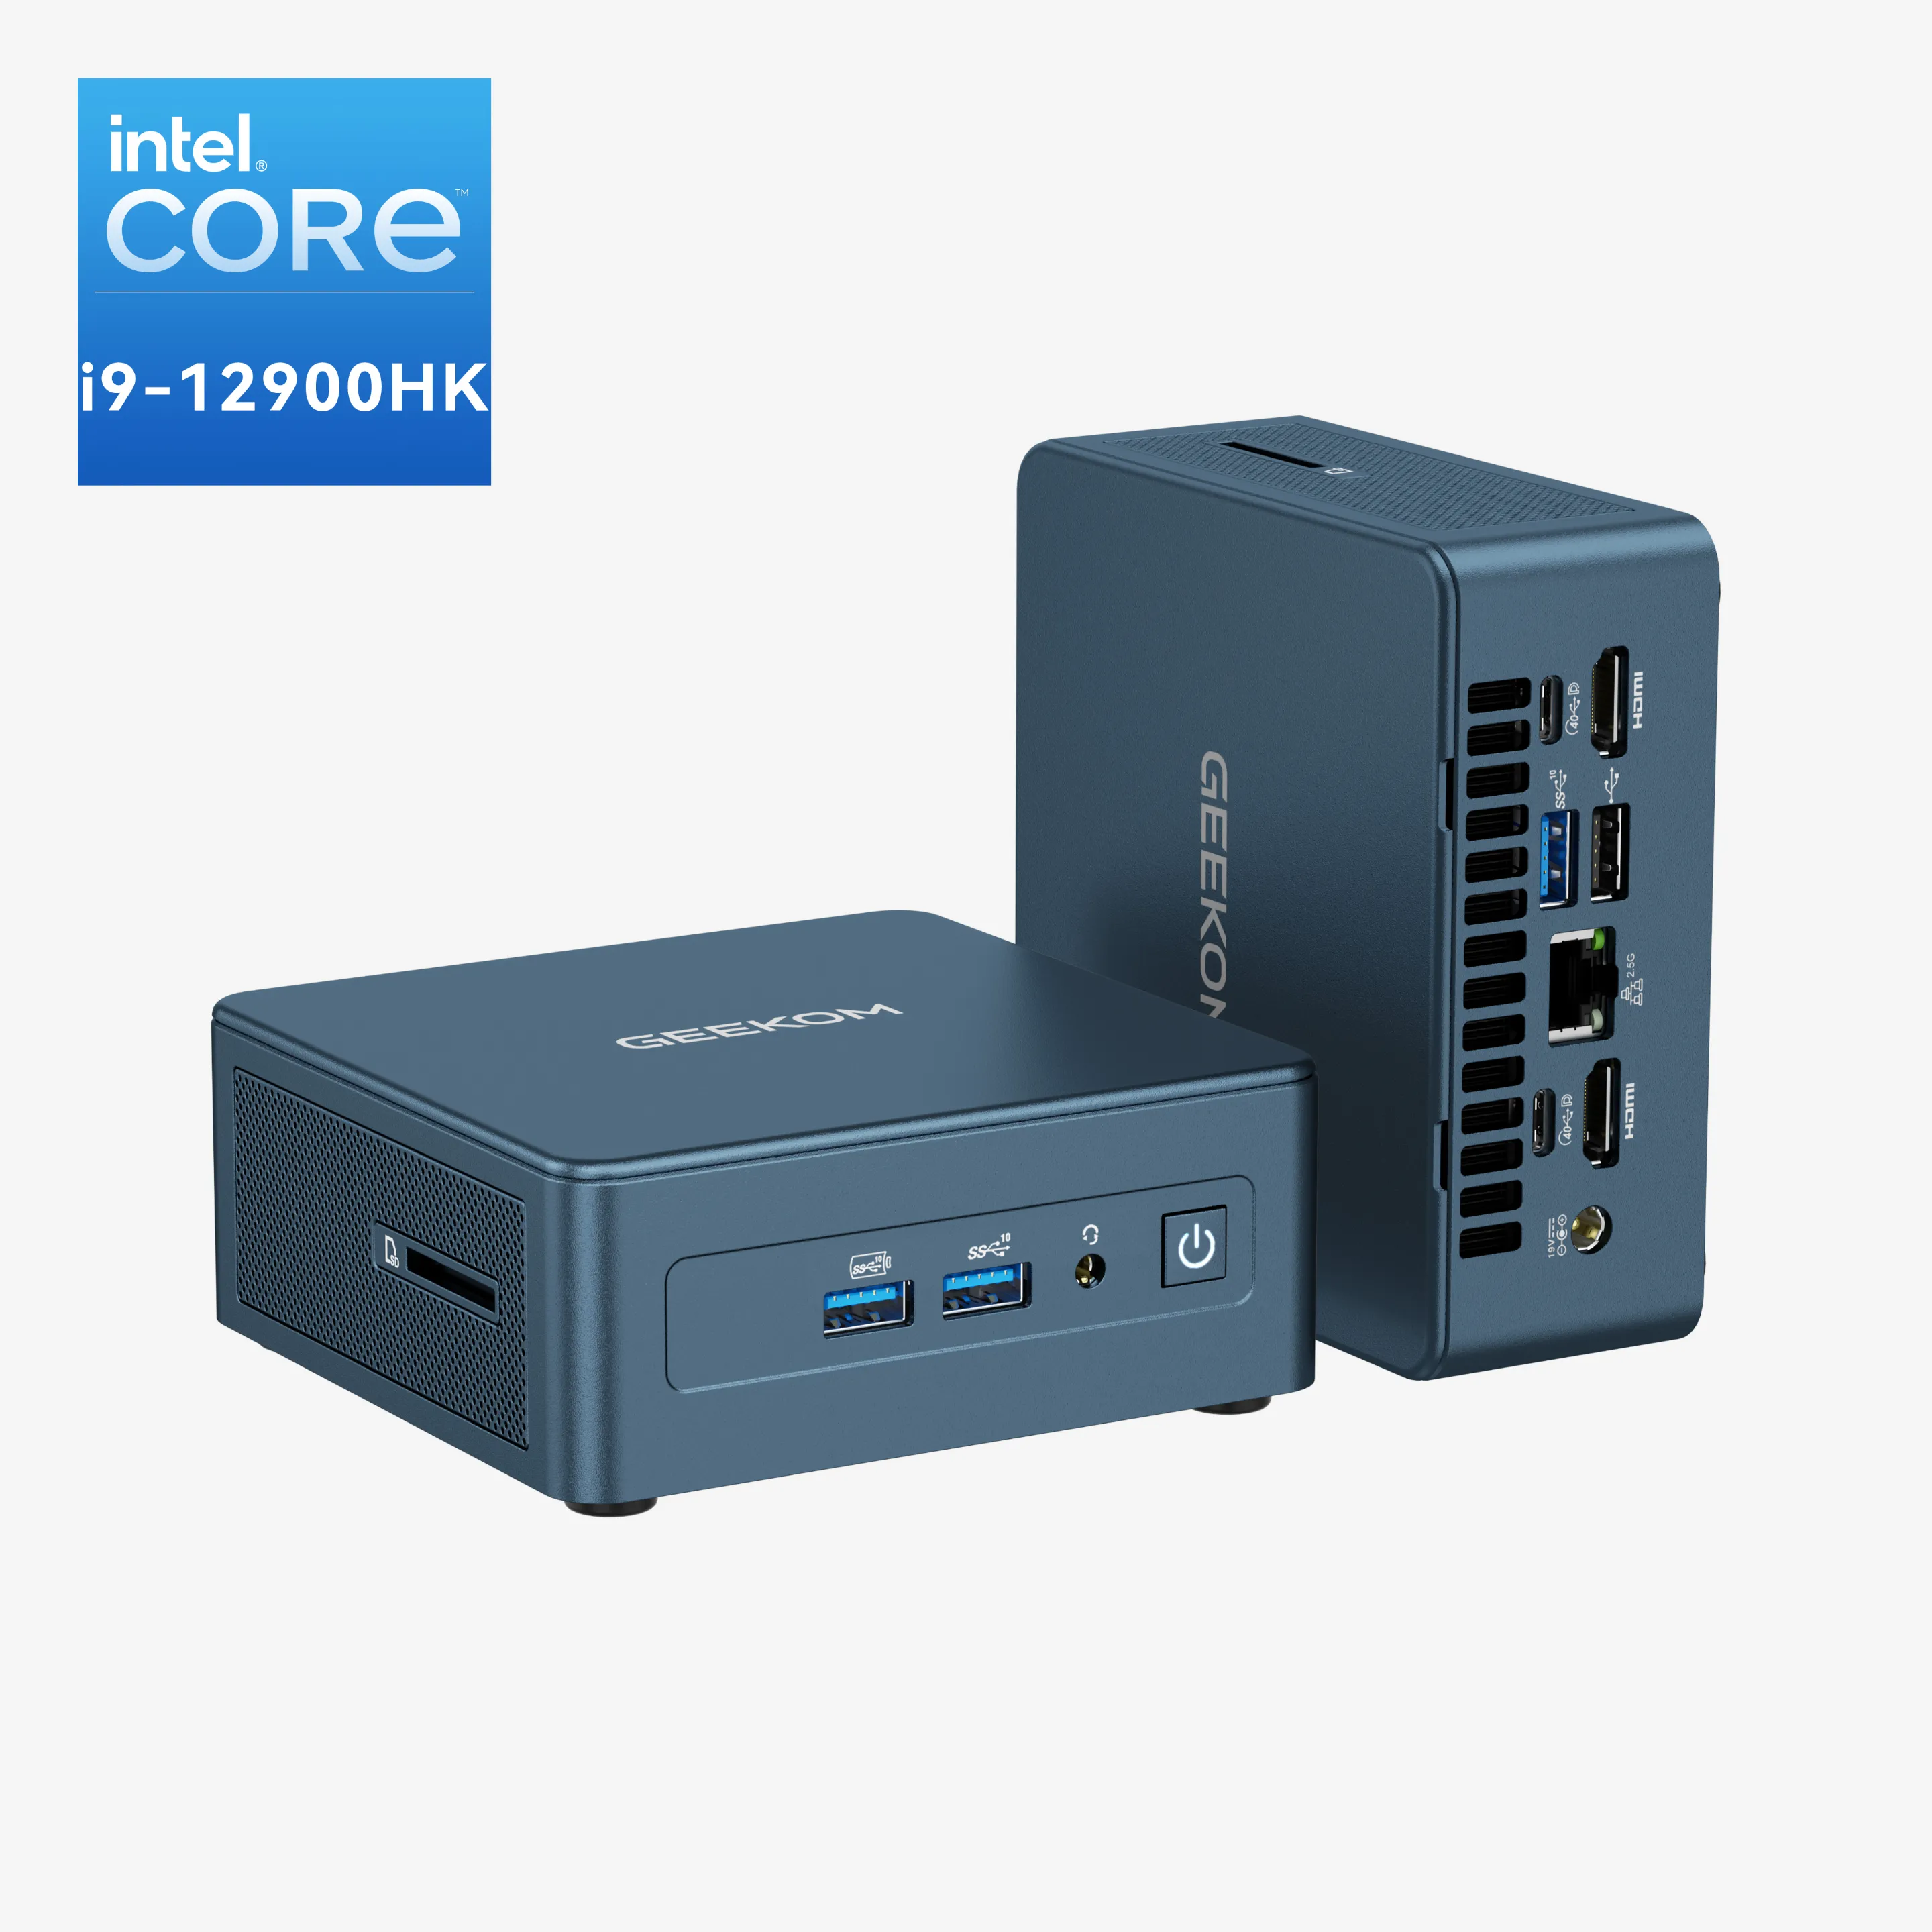
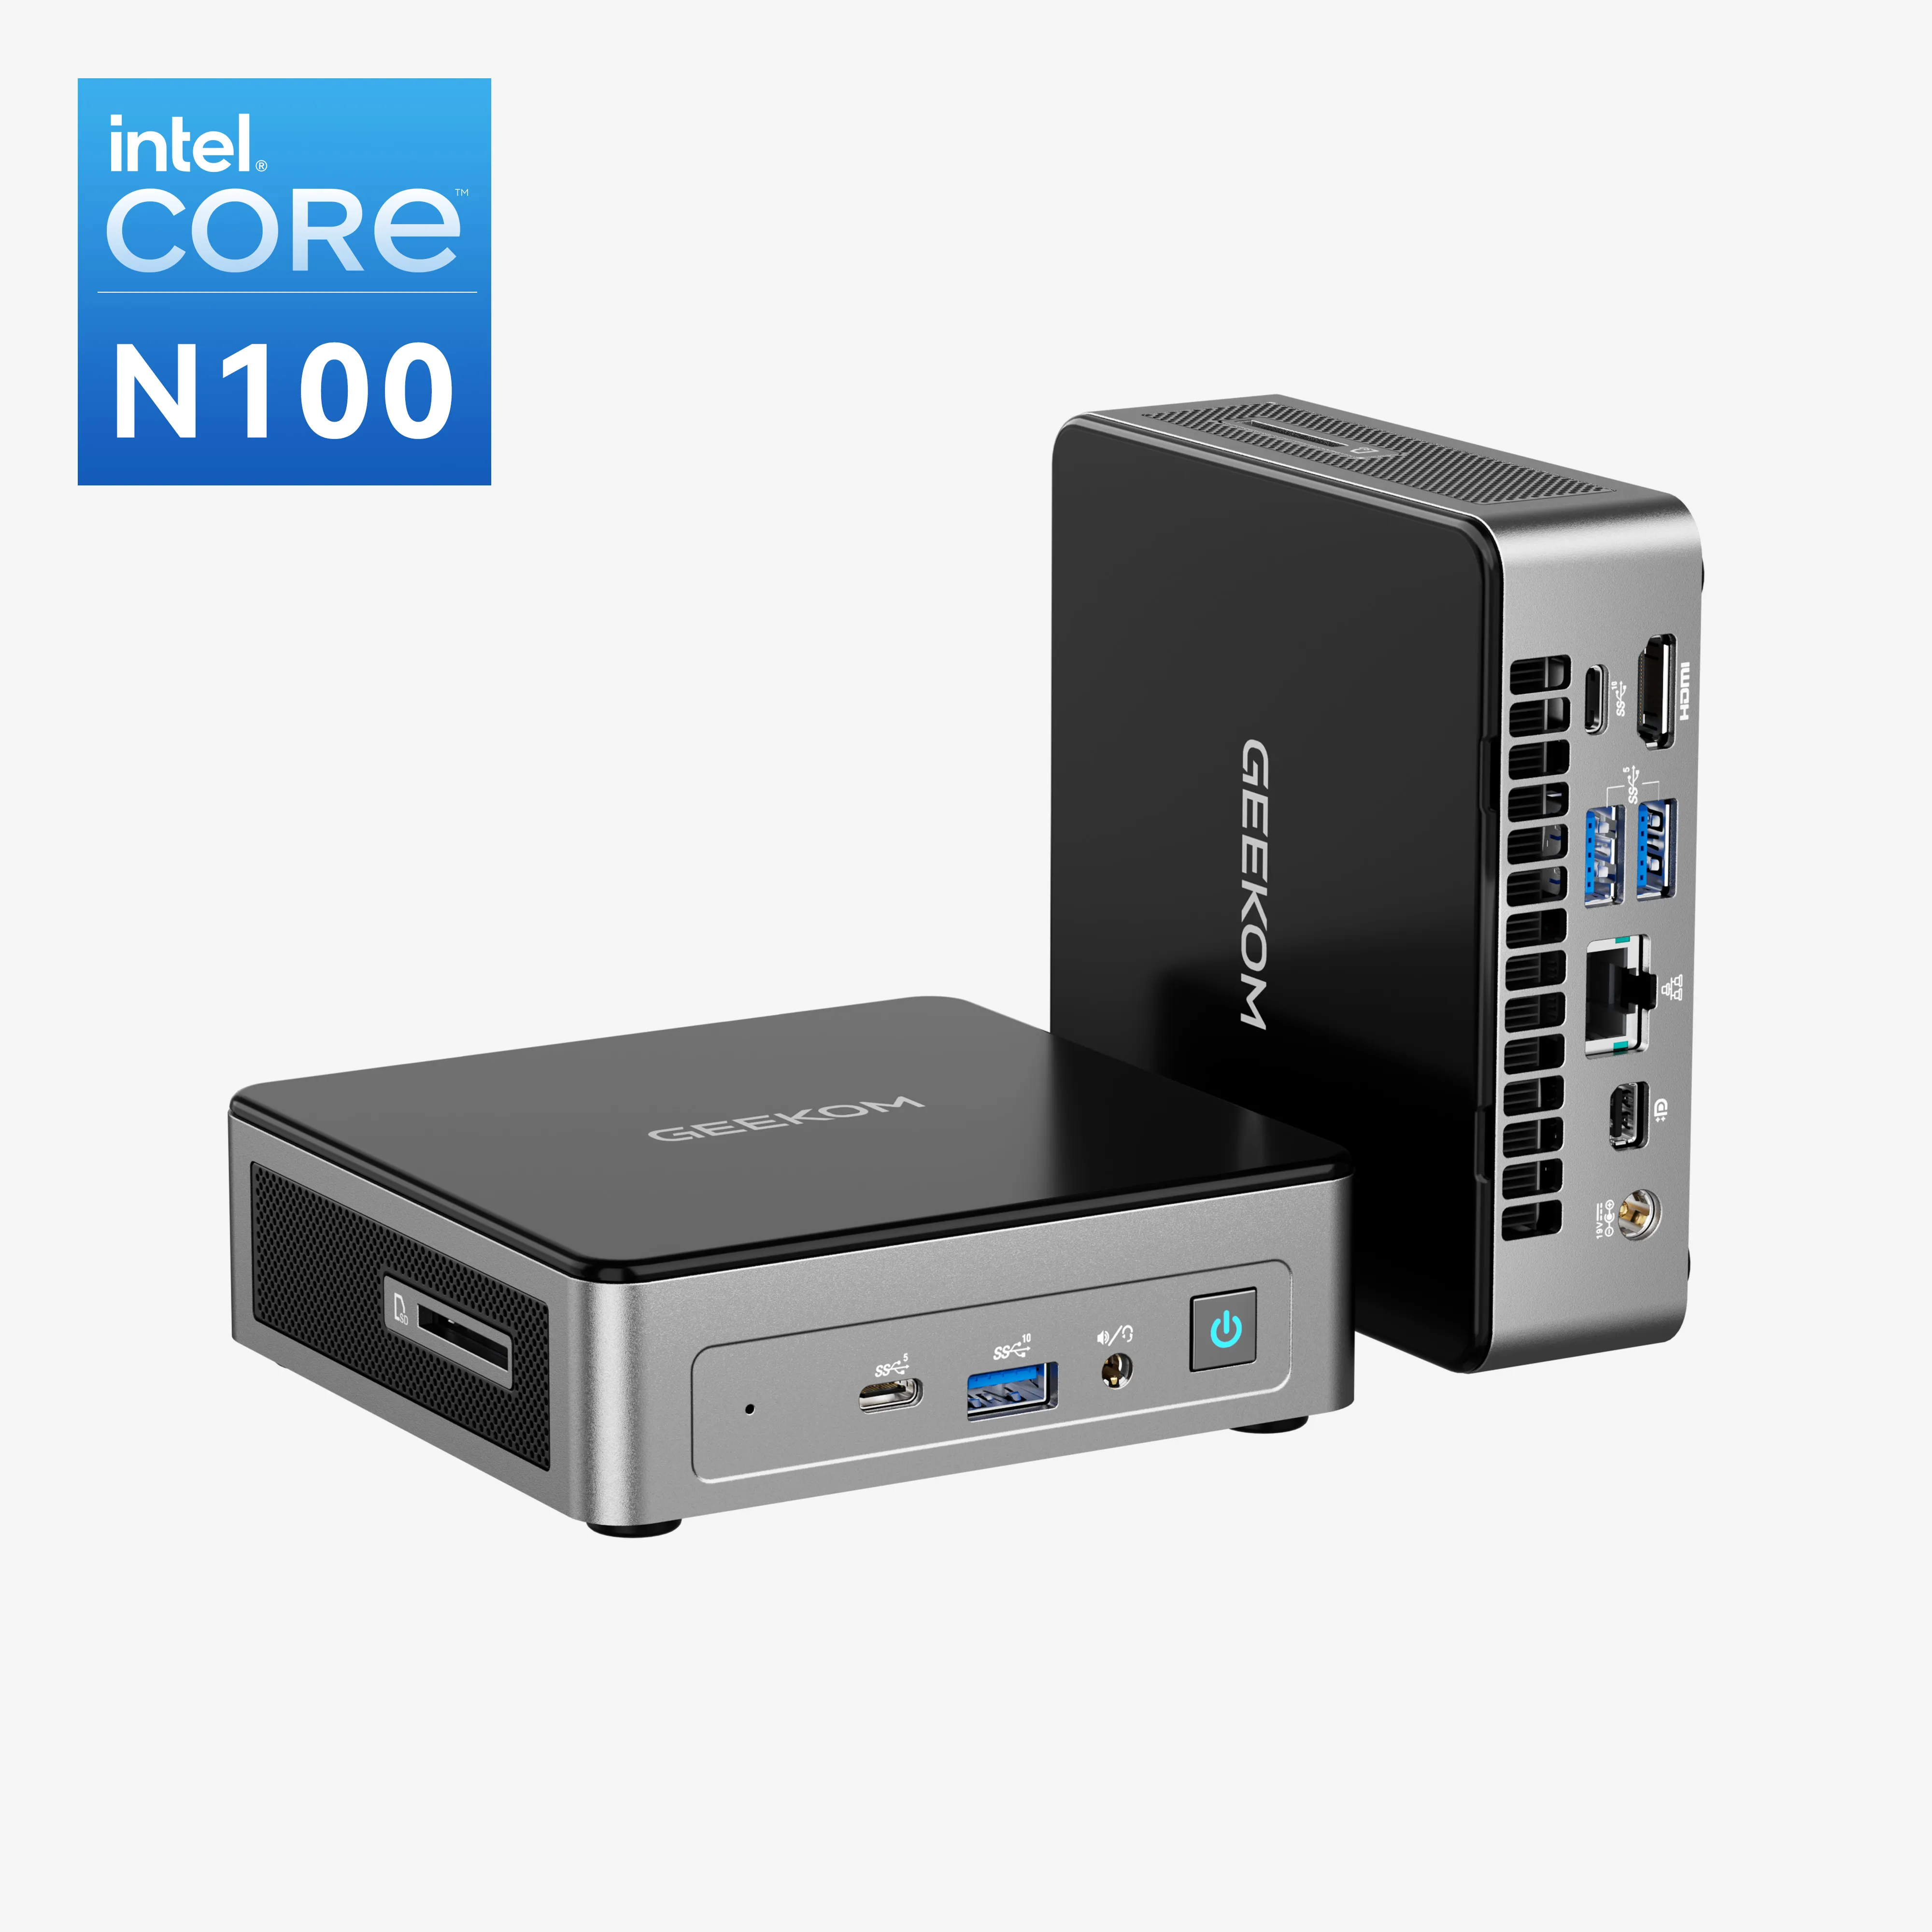
BIOS Update Procedure for GEEKOM Mini PCs
Updates to the BIOS of GEEKOM Mini PCs are only available upon the appearance of concrete problems. As long as the system is working normally, there is no need to update the BIOS in general.
If an update is needed, follow the step-by-step process:
Preparation
- Read and be clear about how to obtain the correct and specific BIOS file from GEEKOM support.
- Prepare a USB flash drive, which must be formatted in FAT32.
- Copy the BIOS file to the root directory of the USB flash drive.
Update Procedure
- Insert the USB flash drive into the Mini PC (only the BIOS update file should be on the drive).
- Start the system and press the Delete key to enter the BIOS setup screen.
- Go to the “Security” menu, disable Secure Boot, and save the changes before restarting the device.
- On the next boot, tap F7 to get into the boot menu.
- Select the USB drive to start the auto-updating process.
- After the update is complete, re-enter the BIOS setup by pressing the Delete key, reenable Secure Boot in the “Security” menu, and save the changes.
Important Notes:
- You are advised against copying data other than the BIOS update file to the USB drive.
- The USB flash drive should never be removed during the update process.
- Use a stable power source to ensure the process is completed without interruption.
- After the update, the system will automatically reboot.
- After the reboot, the USB drive can then be removed.
For detailed instructions, users can consult the official support or documentation offered by GEEKOM. Procedures may vary slightly depending on the model, as different processor and motherboard types may require specific steps.
Special Considerations for Windows 11
Updating the BIOS in a Windows 11 environment comes with some unique considerations:
TPM and Secure Boot Settings:
- After a BIOS update, TPM 2.0 settings may be reset.
- Check the status of Secure Boot and reenable it if necessary.
- Pay special attention to BitLocker (always have the recovery key ready).
- If Fast Boot is enabled, additional steps may be required to access the BIOS.
Updates via Windows Update:
- Important BIOS updates may be delivered through Windows Update.
- Go to Settings > Windows Update > Advanced Options > Optional Updates to check for BIOS updates.
- Ensure the update provided matches the one offered by the manufacturer.
If you’re planning to upgrade from Windows 10 to Windows 11, updating the BIOS beforehand can help ensure a smoother transition.
UEFI-Specific Update Procedures
UEFI systems offer some unique features that differ from traditional BIOS updates:
Mouse Support:
- UEFI interfaces allow for mouse input.
- Menu navigation is more intuitive.
- However, it is not a bad move to spend time learning keyboard shortcuts.
Direct Updates from Windows:
- Many UEFI systems support direct updates from within Windows.
- This can reduce the number of required restarts.
- A stable power supply remains critically important.
Backup BIOS Feature:
- High-end motherboards often include a backup BIOS feature.
- This is the provision in the case the primary BIOS is corrupted.
- Check your motherboard’s specifications to see if this feature is available.
Solutions for Troubleshooting BIOS Update Issues
BIOS updates typically proceed without issues if the proper steps are followed. However, in the rare event that something goes wrong (and hopefully, this section will not be needed), here are some solutions to address common problems.
Common Error Messages and Solutions
Here are some common error messages that are usually seen when the BIOS update is in progress, along with the causes and solutions to the problem:
“Compatibility Error” or “Verification Error”:
- Cause: The BIOS file is not compatible with your system.
- Solution: Check again if the downloaded file is for the correct motherboard model. Try a different USB port (sometimes, specific ports have compatibility issues). Re-download the BIOS file to ensure it is not corrupt.
“Write Error”:
- Cause: The BIOS chip failed to write the new code.
- Solution: Restart the computer and then try again. – Reformat the USB drive to FAT32 and reload the BIOS file. Use a different USB drive to perform the update.
“Update Process Interrupted”:
- Cause: The update was interrupted by a system error or an unstable power supply.
- Solution: Check that the power is connected and try to update again. – Allow the system to cool down and then try again (the interruption might have been caused by overheating).- If the issue still lingers, refer the company’s support staff for help.
Recovery Steps for Unbootable Systems
When your computer becomes unbootable after a broken BIOS update, you should follow these recovery steps in case the worst-case scenario occurs:
Basic Checks:
- Get the power cable connected, and then try to boot up again.
- Reposition the RAM modules to make a better connection.
- Alter the CMOS to the default setting (detailed in your motherboard’s manual).
Recovery Procedure:
- Shut down the entire system and wait for 30 seconds at the minimum.
- Take out the battery if it is on your system.
- Hold down the power button for 15 seconds to get rid of leftover power before turning on the system again.
- Start the system up and see if it boots as it should.
Using BIOS Recovery Features (if supported):
- Press the key combination specified by the manufacturer to enter the recovery mode while booting.
- Try to boot the system into recovery mode and then restore the BIOS.
- Use a USB stick loaded with the BIOS recovery file to kick off emergency recovery.
Using the Dual BIOS Feature
Some high-end motherboards are equipped with a dual BIOS feature, which acts as a safety net in case the primary BIOS becomes corrupted. If your motherboard supports this feature, follow these steps to recover:
Automatic Recovery:
- The backup BIOS will automatically activate if corruption is detected in the primary BIOS.
- The system will automatically begin the recovery process.
- Once recovery is complete, the system will restart automatically.
Manual Recovery:
- Refer to your motherboard manual for instructions on switching to the backup BIOS.
- Typically, this involves using a jumper pin or a dedicated switch.
- Once booted from the backup BIOS, reflash the primary BIOS using the correct update file.
Contacting Manufacturer Support
Try all the methods listed above, and if they still don’t work, contact the manufacturer’s support team. There are several cases where you need to approach support, such as the following:
When to Contact Technical Support:
- The problem persists even after trying all the recovery methods.
- The display is completely off, and there are no signs of activity from the motherboard.
- There are unusual noises or smells coming from the motherboard.
- The BIOS recovery feature fails to restore functionality.
What to Prepare When Contacting Support:
- The model and serial numbers of your PC or motherboard.
- The version of the BIOS update you attempted to install.
- Details of any error messages encountered during the update process.
- A summary of the recovery steps you’ve already attempted.
If your product is under warranty, the manufacturer may cover the repair or replacement. Please have your warranty card and proof of purchase ready. Do not attempt any further recovery steps on your own, as this may cause additional damage to the hardware.
Conclusion
Nowadays, updating the BIOS of Windows 11 seems unavoidable for many users. With the termination of support for Windows 10 approaching, this action will be necessary to comply with compatibility and secure the system.
However, not only should we avoid unnecessary updates, but we should also abide by the standard advice that speaks to the rule that says, “If it’s working fine, don’t touch it.”. Only when your system requires Windows 11 compatibility, critical security patches, or the support of new hardware should it be updated if it is working fine.
The update is secure itself, even if you only use the guidelines from this document. Regarding small systems like GEEKOM Mini PCs, the main thing is the stability of the power source. Always consult the manufacturer’s recommendations before you begin the game.
Regular visits to the support page for updates are critical; however, update the BIOS only when necessary. This will ensure a proper and secure working unit.