


Macs have come a long way, evolving into sleek, powerful devices powered by Apple’s cutting-edge chips. Whether you’re using a MacBook, an iMac, or a desktop like the Mac Mini or the latest Mac Mini M4, capturing screenshots remains as straightforward as ever. With MacOS offering intuitive features and shortcuts, taking a screenshot is simple, regardless of whether you’re using an older device or the latest MacOS Sequoia on a shiny new Mac Mini M4. Screenshot on a Mac isn’t a normal way like other computers. In this guide, we’ll walk you through the 9 primary methods of taking screenshots using keyboard shortcuts, plus additional options for saving, editing, or deleting your captures.
1. Capture the Entire Screen
Steps:
- Press Command (⌘) + Shift + 3.
- The screenshot will be saved directly to your desktop by default.
Additional Tips:
- The file will be named with the date and time for easy identification.
- You can change the default save location in System Settings > Keyboard > Shortcuts > Screenshots.
2. Capture a Selected Portion
Steps:
- Press Command (⌘) + Shift + 4.
- Your cursor will change to a crosshair.
- Click and drag to select the area you want to capture.
- Release the mouse or trackpad to take the screenshot.
Additional Tips:
- To cancel, press Esc before releasing the mouse or trackpad.
- The screenshot will be saved to your desktop.
3. Capture a Specific Window
Steps:
- Press Command (⌘) + Shift + 4, then press the Spacebar.
- Your cursor will change to a camera icon.
- Hover over the window you want to capture and click.
Additional Tips:
- The captured image will include a subtle shadow around the window.
- If you prefer no shadow, hold the Option while clicking.
4. Use the Screenshot Toolbar (macOS Mojave and Later)
Steps:
- Press Command (⌘) + Shift + 5.
- The Screenshot Toolbar will appear at the bottom of your screen.
- Choose from these options:
- Capture the entire screen.
- Capture a selected window.
- Capture a selected portion.
- Record your screen (entire or portion).
- Click “Capture” to take the screenshot or start recording.
Additional Tips:
- Click “Options” to customize settings like the save location, timer, or whether to show the mouse pointer.
5. Take a Screenshot of the Touch Bar (for MacBook Pro Models with Touch Bar)
Steps:
- Press Command (⌘) + Shift + 6.
- The screenshot of your Touch Bar will be saved to your desktop.
6. Edit Your Screenshots
Once you’ve taken a screenshot, a thumbnail will appear in the bottom-right corner of your screen (macOS Mojave and later).
Steps:
- Click the thumbnail to open the Markup tool.
- Use the tools to:
- Crop or resize the image.
- Add annotations like text, shapes, or signatures.
- Click “Done” to save your changes.
7. Share or Copy Screenshots
Sharing:
- Right-click the screenshot file.
- Select Share and choose an option like Mail, Messages, or AirDrop.
Copying:
- Press Control (Ctrl) while taking a screenshot to copy it to your clipboard.
- Paste it into an application using Command (⌘) + V.
8. Troubleshooting Common Issues
Problem: Screenshots Aren’t Saving
- Check the default save location in System Settings > Keyboard > Shortcuts > Screenshots.
- Ensure you have enough disk space.
Problem: Screenshot Shortcuts Aren’t Working
- Verify shortcuts are enabled in System Settings > Keyboard > Shortcuts.
- Restart your Mac to resolve temporary glitches.
9. Bonus: Third-Party Screenshot Tools
For more advanced features, consider third-party tools like Snagit or Lightshot. These apps offer additional annotation tools, cloud storage options, and better organization for your screenshots.
Conclusion
With this guide, you can take screenshots like a pro on your Mac. Whether you’re preparing a presentation, capturing a funny moment, or saving an important document, these methods ensure you have the flexibility and tools you need.
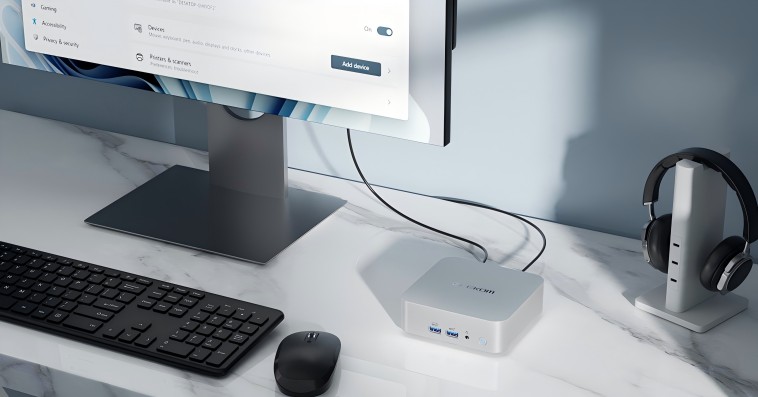
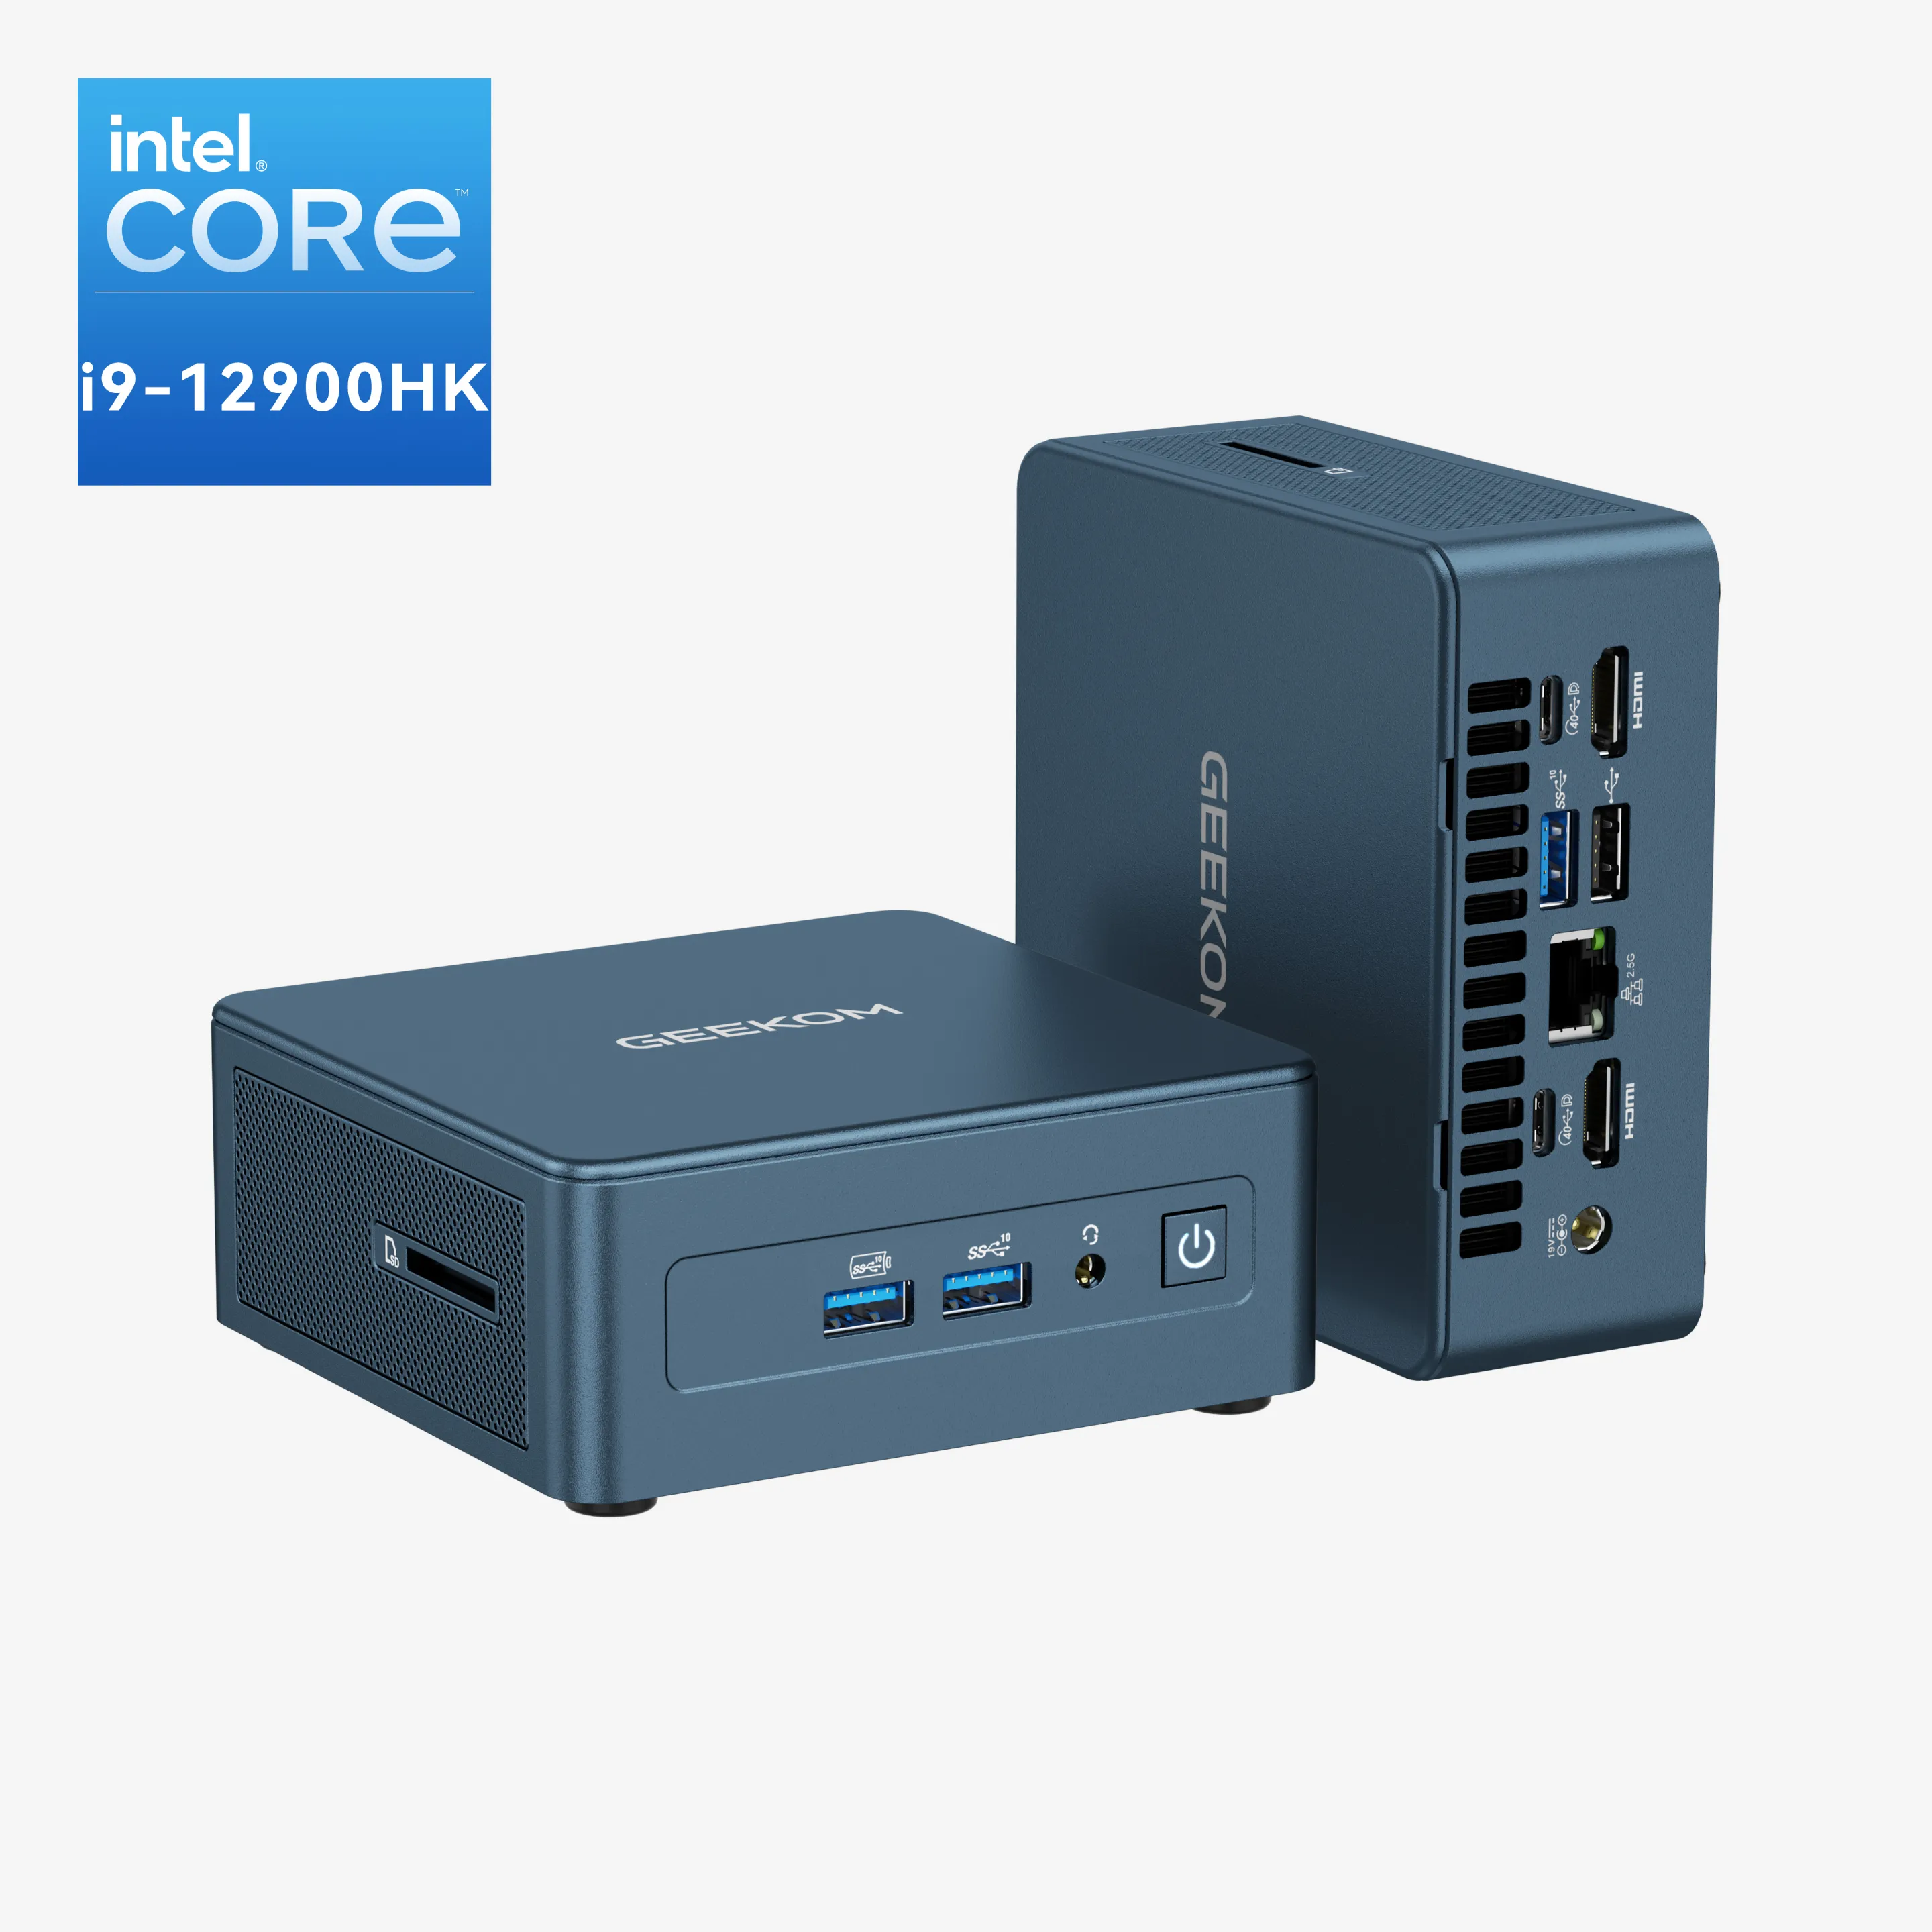
If you are searching for a Windows computer or Mini PC with Windows, have a look at GEEKOM for a surprise about its power and small factor.